

Decadent, Fudgy, and Loaded with Crunchy Butterfinger Pieces!
Kitchies! If you’re a fan of rich, fudgy brownies with a satisfying crunch, this recipe is about to be your new favorite. These Thick & Chewy Butterfinger Brownies bring together the best of both worlds—deep chocolate flavor and that iconic peanut-buttery, crispy crunch from Butterfinger candy bars.
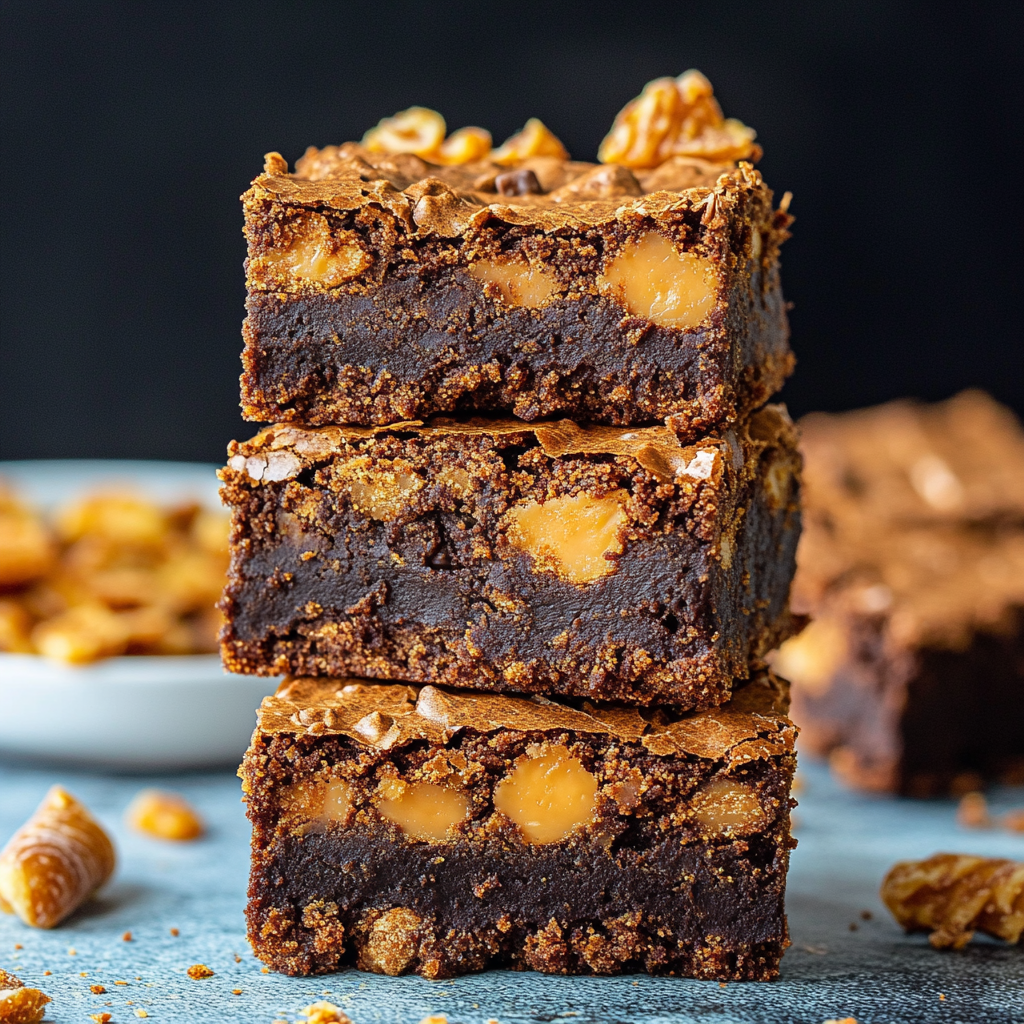
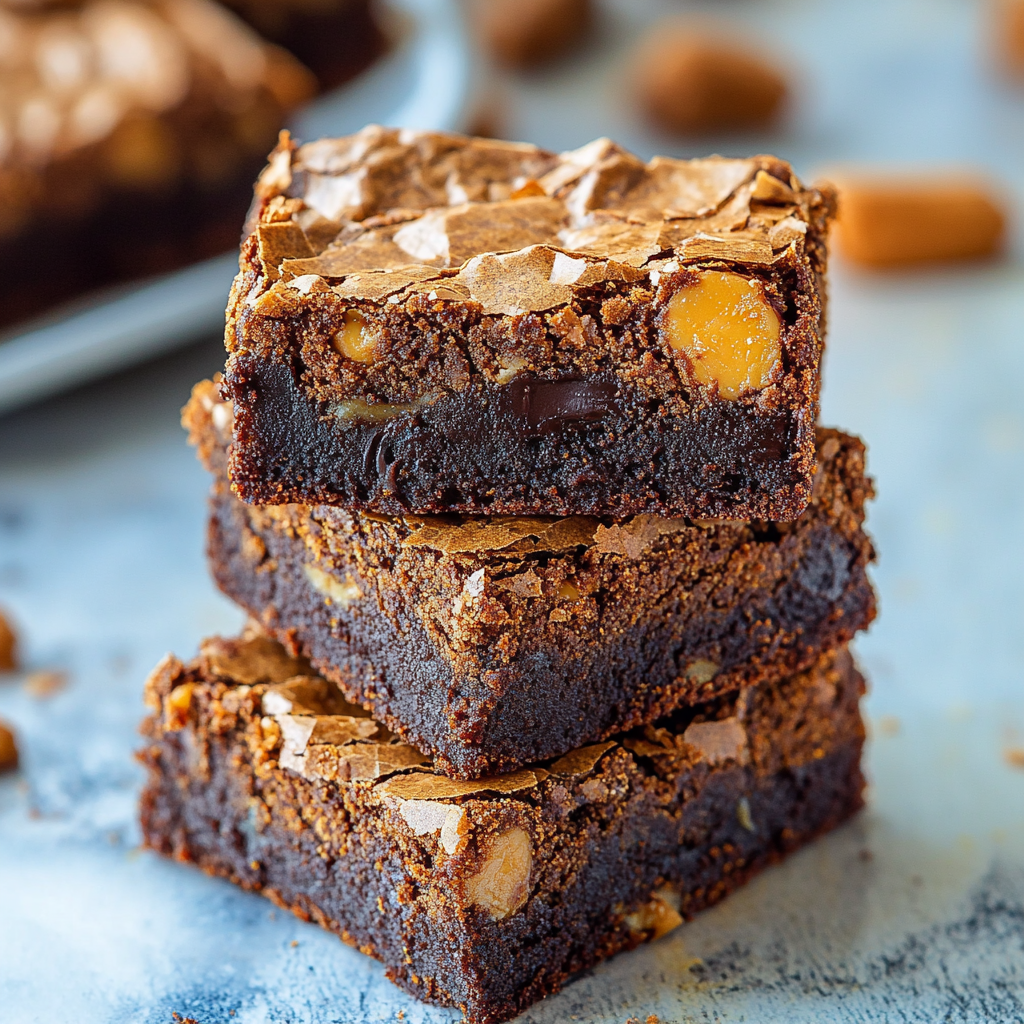
Imagine biting into a thick, dense, ultra-chocolatey brownie with a crackly top, only to get an unexpected crispy, caramelized bite of Butterfinger in every forkful. They’re the perfect balance of sweet, salty, and crunchy—basically everything you’d ever want in a dessert. Whether you’re baking for a party, a bake sale, or just a well-deserved treat for yourself, these brownies are guaranteed to impress.
Why You’ll Love These Butterfinger Brownies
- Thick, fudgy, and chewy—just how a perfect brownie should be.
- Loaded with Butterfinger pieces for the ultimate peanut-buttery crunch.
- Made from scratch with simple ingredients—no box mix needed!
- Crispy top, gooey center, and just the right amount of crunch.
- Easy to make and even easier to eat!
Cuisine: American
Tips for the BEST Butterfinger Brownies
- For extra chewiness, chill the brownies for an hour before cutting.
- Use parchment paper so you can easily lift the brownies out for perfect slicing.
- Don’t overbake! The brownies should be just set in the center for the best texture.
- For even more crunch, add some crushed Butterfinger to the batter before baking.
Substitutions and Variations
- Make it extra rich: Add ½ cup melted dark chocolate to the batter for deeper flavor.
- Try a peanut butter drizzle: Instead of chocolate, melt peanut butter and drizzle it over the brownies.
- Use different candy bars: Try Reese’s, Snickers, or even Twix for a fun twist!
Make a Healthier Version
- Swap ½ cup sugar for a sugar alternative like monk fruit sweetener.
- Use Greek yogurt instead of butter for a lighter version.
- Replace all-purpose flour with almond flour to make it gluten-free.
And There You Have It!
These Thick & Chewy Butterfinger Brownies are every candy lover’s dream dessert. They’ve got the perfect balance of fudgy, chewy, and crispy in every bite. Whether you serve them at a party or keep them all to yourself (no judgment!), one thing’s for sure—they won’t last long.
Bake a batch, take a bite, and let the chocolatey, peanut-buttery magic take over. And don’t forget to let us know how they turn out!
Relevant Categories
- Dessert
- Brownies & Bars
- Chocolate Recipes
Tags:
#ButterfingerBrownies #FudgyBrownies #ChocolateDessert #EasyBaking #CandyBarDesserts
Print
Thick & Chewy Butterfinger Brownies
Description
These Thick & Chewy Butterfinger Brownies bring together the best of both worlds—deep chocolate flavor and that iconic peanut-buttery, crispy crunch from Butterfinger candy bars.
Ingredients
For the Brownies:
- 1 cup unsalted butter, melted
- 1 ½ cups granulated sugar
- ½ cup light brown sugar, packed
- 3 large eggs
- 1 tbsp vanilla extract
- 1 cup all-purpose flour
- ¾ cup unsweetened cocoa powder
- ½ tsp salt
- ½ tsp baking powder
- 1 ½ cups Butterfinger bars, chopped
For the Butterfinger Topping:
- ½ cup Butterfinger bars, crushed
- ¼ cup semi-sweet chocolate chips
- 1 tbsp heavy cream (optional, for drizzling)
Instructions
Step 1: Prep Your Oven & Pan
- Preheat oven to 350°F (175°C). Grease and line a 9×9-inch baking pan with parchment paper, leaving some overhang for easy removal.
Step 2: Make the Brownie Batter
- In a large bowl, whisk together melted butter, granulated sugar, and brown sugar until smooth.
- Add in the eggs, one at a time, mixing well after each addition. Stir in vanilla extract.
- In a separate bowl, sift together flour, cocoa powder, salt, and baking powder.
- Gradually add the dry ingredients to the wet mixture, stirring just until combined (don’t overmix!).
- Fold in 1 ½ cups of chopped Butterfinger pieces.
Step 3: Bake to Fudgy Perfection
- Pour the brownie batter into the prepared pan and spread evenly.
- Bake for 30-35 minutes, or until a toothpick inserted in the center comes out with a few moist crumbs (not wet batter!).
- Let brownies cool completely before adding the topping.
Step 4: Butterfinger Topping
- Melt chocolate chips with 1 tbsp heavy cream in the microwave (heat in 15-second bursts, stirring in between).
- Drizzle melted chocolate over the cooled brownies.
- Sprinkle the remaining ½ cup crushed Butterfinger bars over the top.
Step 5: Slice & Devour!
Let the brownies set for at least 20 minutes, then slice into thick squares and enjoy the chewy, chocolatey, peanut-buttery bliss!